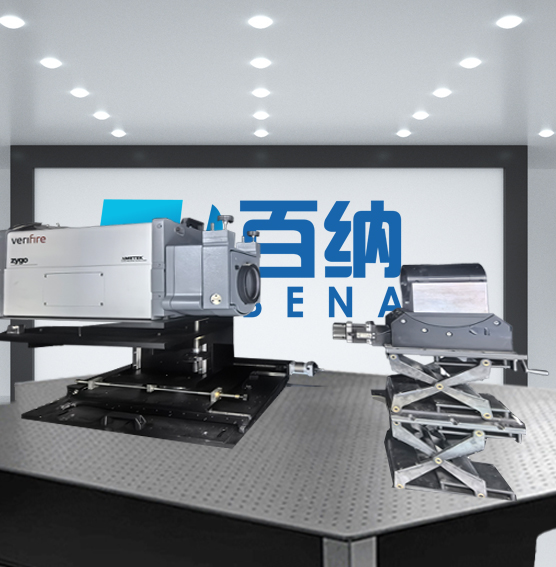
The Zygo laser interferometer is renowned in the optical inspection field for its exceptional precision and reliability. By utilizing the Zygo laser interferometer, Bena Optics can achieve sub-nanometer level surface measurements and wavefront analysis, ensuring that each optical component meets the highest quality standards. This advanced inspection technology allows Bena Optics to quickly identify and correct even the smallest manufacturing defects, continuously optimizing production processes to enhance product consistency and performance. This rigorous quality management control system enables Bena Optics to stand out in the highly competitive optical market, earning the trust and praise of its customers.
High Precision:Achieves sub-nanometer level surface measurements and wavefront analysis.Reliability:Provides stable and consistent inspection results.Quick Defect Identification:Rapidly detects and corrects minor manufacturing defects.Production Optimization:Continuously improves production processes, enhancing product consistency and performance.
Quality Assurance:Ensures each optical component meets the highest quality standards
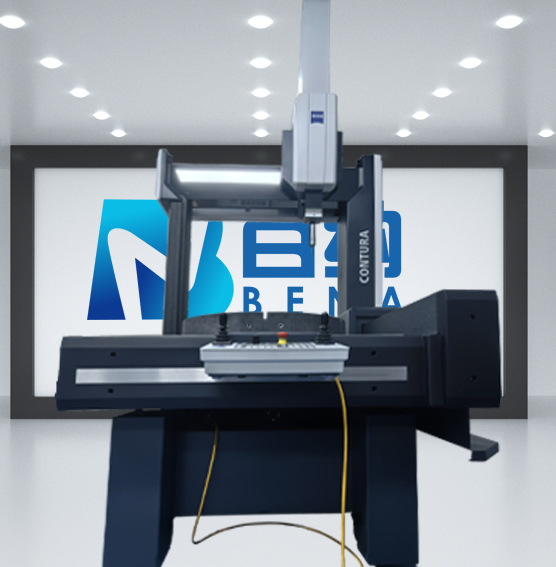
With its ultra-high precision and excellent dynamic performance, the CMM is particularly suitable for fast data acquisition and high-speed scanning technologies, thereby increasing the efficiency of process control.
High-Precision Geometric Measurement;
Surface Quality Assessment;
Complex Surface Measurement;
Automated and Efficient Inspection;
Data Analysis and Reporting;
Non-Contact Measurement.
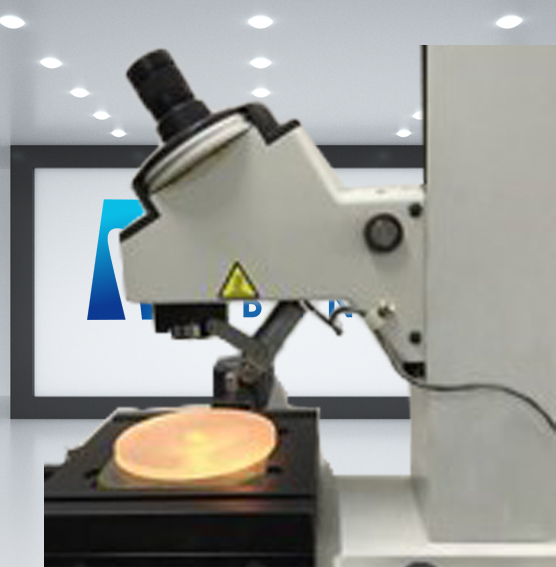
The centering instrument is a critical tool in the optical inspection process, offering unparalleled accuracy in aligning optical components. At Bena Optics, the use of advanced centering instruments ensures that each lens and optical element is perfectly aligned, minimizing aberrations and maximizing performance. This precision alignment capability allows Bena Optics to produce high-quality optical systems with superior image clarity and consistency. By integrating centering instruments into our rigorous quality control processes, Bena Optics demonstrates its commitment to excellence and its ability to meet the most demanding optical standards, thereby reinforcing our reputation as a leader in the optical industry.
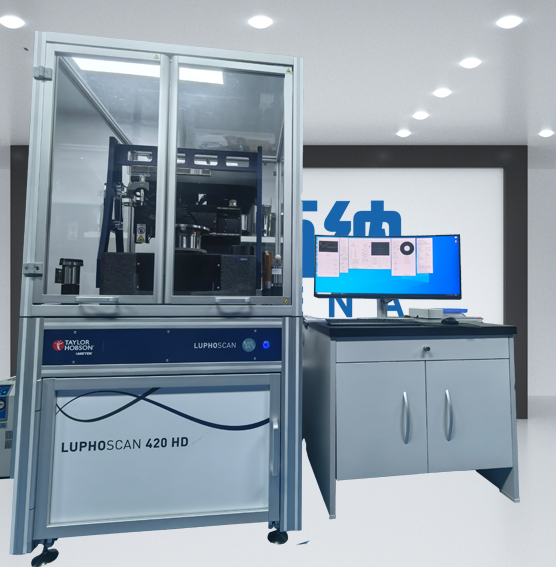
The LuphoScan Measurement Platform employs Multi-Wavelength Interference Technology (MWLI) for non-contact, nanoscale 3D surface profiling of rotationally symmetric optical components (e.g., aspheric/spherical lenses, free-form optics) up to 600mm diameter. Its MWLI sensor accommodates diverse materials, including transparent, metallic, or abrasive surfaces, with sub-nanometer resolution and high-speed scanning. Designed for complex geometries like inflection points or flat cusps, it minimizes errors (tilt, spherical deviation) via specialized staging.
Applications span precision optics manufacturing, measuring lens thickness, wedge/eccentricity errors, and discontinuous surfaces (segmented, annular, or diffraction-stepped structures) using add-on software. The system integrates automated alignment and rapid data acquisition, supporting quality control for advanced optical components while maintaining flexibility for industrial metrology demands.
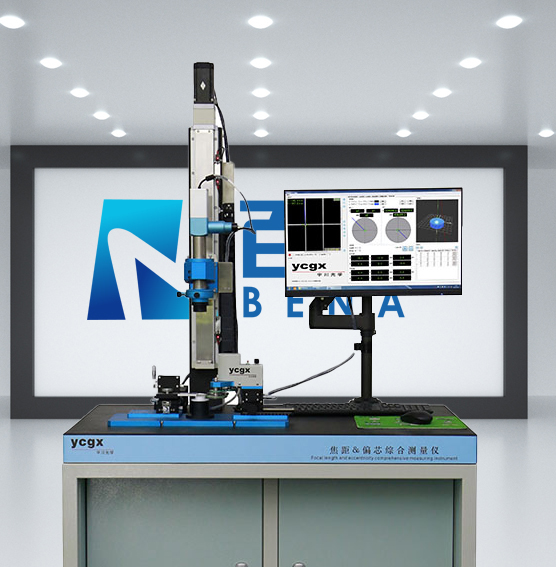
Focal Length ¢ration measuring instrument for the measurement of focal length and centration of specific lens focal lengths. The laser radar dual lens focal length can be measured simultaneously.
Main uses:
1. Effective focal length measurement.
2. Transmission/reflection eccentricity measurement.
3. Curvature radius/rear focal intercept (equipped with grating ruler).
4.MTF measurement.
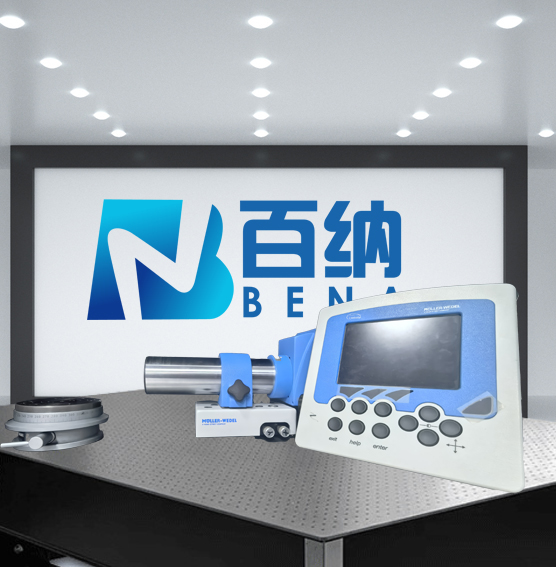
Electronic autocollimators are primarily used for the following measurement tasks:
• Smallest angle measurement
• Ultra-precise angle adjustment and calibration
• Quality assurance of machine tools and their components
• Assembly automation
• Angle position monitoring
Autocollimators are optical measuring devices that can measure the smallest changes in the angular position of optical reflectors. In the case of electronic autocollimators, the autocollimation image is detected by means of CCD lines or a matrix sensor.